Apple and Date Halwa

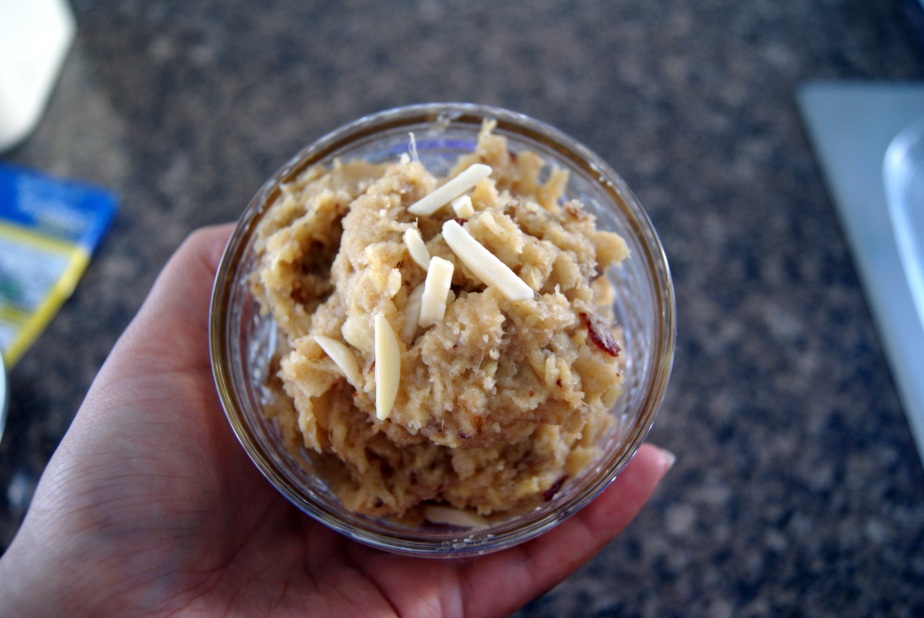
Halwa, or Indian pudding (I guess we could call it that) is a seriously delicious dessert with roots in the Indian subcontinent and the Middle East. It is typically served warm, but tastes wonderful cold too. It is truly a favourite in my house, and we make it as a treat for a celebration or festival.

SONY DSCSONY DSC

Now, my mother usually makes Halwa using semolina and banana, while back in India I have had it made with carrots and milk solids (mawa or khoya) OR believe it or not… bottle gourd. It’s fairly heavy on the sugar, which is obviously not so great for anyone trying to lose weight, or control their sugar.

This recipe is 100% inspired by the Happy Pear but it is most definitely a superbly different halwa recipe. Why? Because this one is 100% sugar FREE! Yup. That’s right.

SONY DSC

Now this halwa does turn out not so sweet, which I personally don’t mind, but as a note I think next time I will definitely add over some agave nectar or some rose syrup. Honey would work too, but really to each their own πŸ™‚

Before starting this recipe, make sure your dates are really well soaked. This is where we get the sweetness in the halwa and it’s essential that these are softened prior to cooking. They should break apart wonderfully once in the pot and caramelize with the rest of the halwa.

DSC09486.JPG

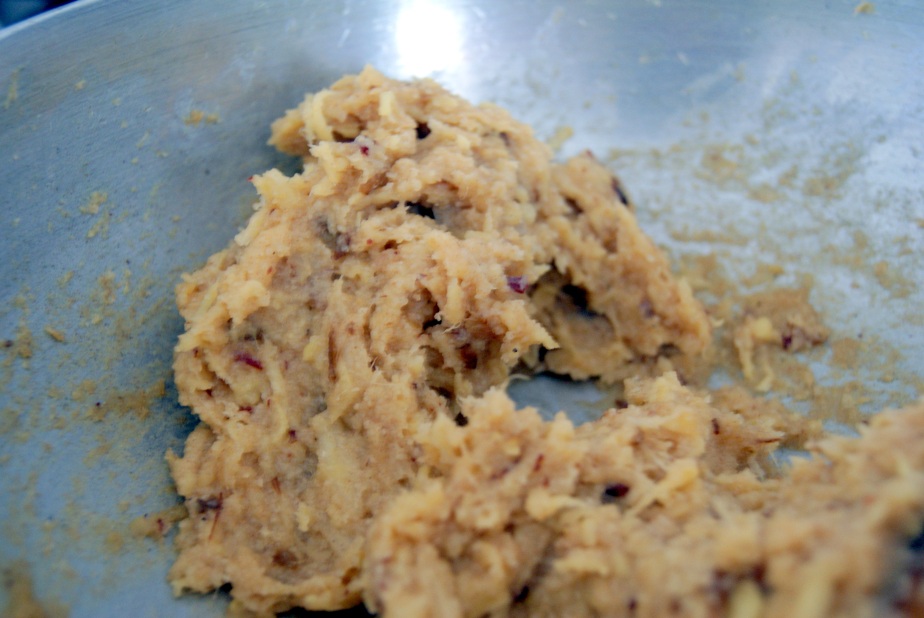
Now, I used semolina in my halwa because it is a great standard ingredient. Traditionally, ghee would be used to cook Β the halwa and I do recommend using some. My first attempt, I went with all coconut oil and i found that most people didn’t enjoy the coconut undertones to the dessert. It would be better instead to use grapeseed oil as it’s flavour profile isn’t as deep as coconut.

SONY DSCapple halwa

Oh and better yet… Diabetic Daddy Dearest actually ate thirds of this halwa. SCORE!!! The texture turned out really smooth and has a really nice apple flavour with hints of the sweetness from the dates… and that sweetness is like a really subtle and soft caramel πŸ™‚

I would realllly love to hear what you think about this recipe, and I would love you to know what kind of recipes you want to see! πŸ™‚


Lime and Coconut and Pancakes

SONY DSC
the end result!

Pancakes are just the best thing in the world, and they are truly the best pick me up after a really long or hard day. I tend to save these for the congratulations-on-finishing-exams or time-to-cheer-up kind of days.

This is one of my absolute favourite pancake recipes to make. For those that know anything about me know just how much I truly love coconut. The recipe is 10000% more appealing because it is totally eggless and can very easily be made into a vegan variation for which I will give details below!

What you need?

  • 3/4 cup of plain flour
  • 1/4 of self raising flour
  • 1/4 teaspoon of baking powder
  • pinch of baking soda
  • 1 teaspoon of white vinegar (this is the flufffffing agent πŸ˜› )
  • 1 lime (we are going to use the rind and juice)
  • some milk (I used full cream, but you can use almond, coconut, rice or soy)
  • 1 heaped tablespoon of yogurt (I used a naturally sweetened variety. If you are vegan you can use some coconut whip)
  • 1/2 teaspoon of vanilla extract or essence
  • 1/4 teaspoon of coconut essence (this stuff is super strong!)
  • less than 1/4 cup of desiccated coconut
  • some butter for frying
  • toasted coconut shavings **optional** (for garnishing)
  • whipped cream (or thickened cream like I used)
  • powdered sugar and maple syrup (of course)

What to do?

  1. Mix the milk and yogurt in a cup and set aside
  2. Sift the flours and add them to a bowl
  3. Add the baking powder and soda to the flours
  4. Add the vinegar straight over the baking powder and soda and watch them fizz up
  5. Add the vanilla and coconut essence to the flours
  6. Add the rind of half the lime.
  7. Grab a whisk and break up the flours before adding the juice of a bit over half a lime. If you like a really tangy flavour, add more lime juice.
  8. Add the desiccated coconut and whisk through well
  9. Now whisk through the milk and yogurt mixture, little by little, until you achieve a thick pancake batter. It should be thick enough to hold a trail when spooning it out.
  10. Heat some butter in a fry pan and spread it around everywhere, on a low flame. I think its best to start on a low heat.
  11. Using a ladle, spoon out one ladle full of the batter and pour it straight into the center of the fry pan and watch the batter spread out.
  12. Allow the pancake to fry until you see bubbles form around the sides of the pancake. This may take a few minutes
  13. Flip the pancake, and allow the pancake to cook for a few minutes
  14. Remove the pancake and then repeat steps 10 to 13. Generate a stack of pancakes for serving.
  15. To serve, top the stack with the toasted coconut flakes, maybe some pecans, maybe some more lime rind… I went with some coconut infused whipped cream. To do this pour some thickened cream into a bowl and add a few drops of coconut essence. Grab your whisk and whip away!

These pancakes are super tangy and coconutty and I truly love them. They are a really wonderful summer breakfast treat and great cheat to your healthy week. Better yet, the pancakes are eggless which will prevent you feeling bloated in the mornings. And, the pancakes themselves are sugarfree. I choose to allow the vanilla and the maple syrup topping to do all the sweetening. Thus, the pancake itself can be eaten by diabetics, like my dad, absolutely guilt free. Just add some sugarfree whipped cream and you are good to go.

Let me know what you think of this recipe! I really would love to hear feedback! I apologise in advance for not having photos of all the steps. I am a truly terrible photographer and well.. they all look a little funny πŸ˜›